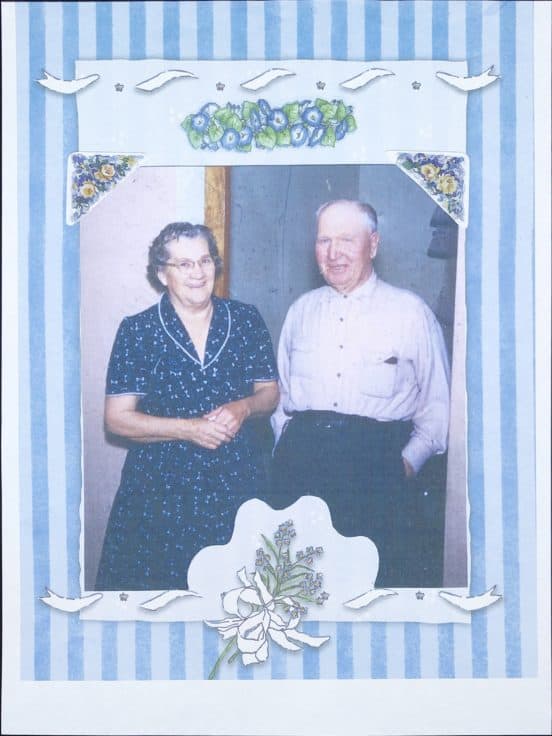
The Louis and Dorothy Johnson Scrapbook
My great-aunt Joyce was a longtime family historian. She left many good resources for those genealogists that came after her….
My great-aunt Joyce was a longtime family historian. She left many good resources for those genealogists that came after her….
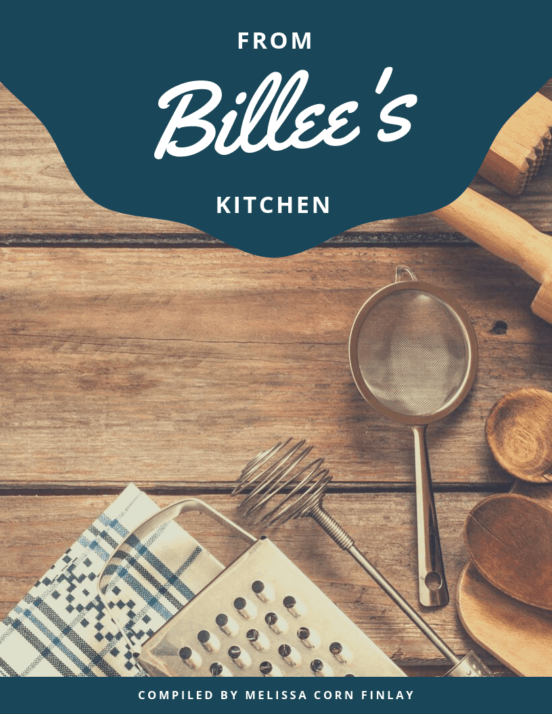
I visited my grandmother Billee in person for the last time when she was 90 years old. I spent several…
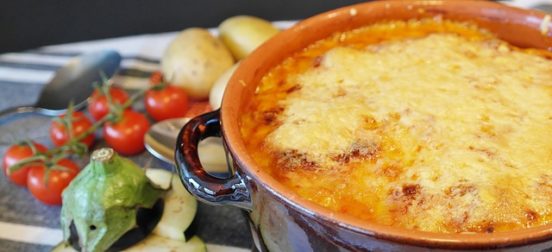
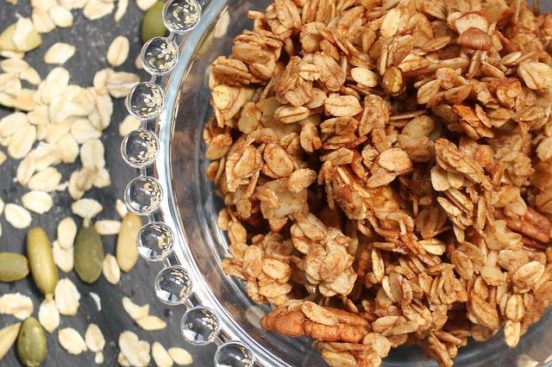
This family recipe has been handed down from Nora Presnell Farnworth. Nora herself wrote, “this is a whole dinner in…
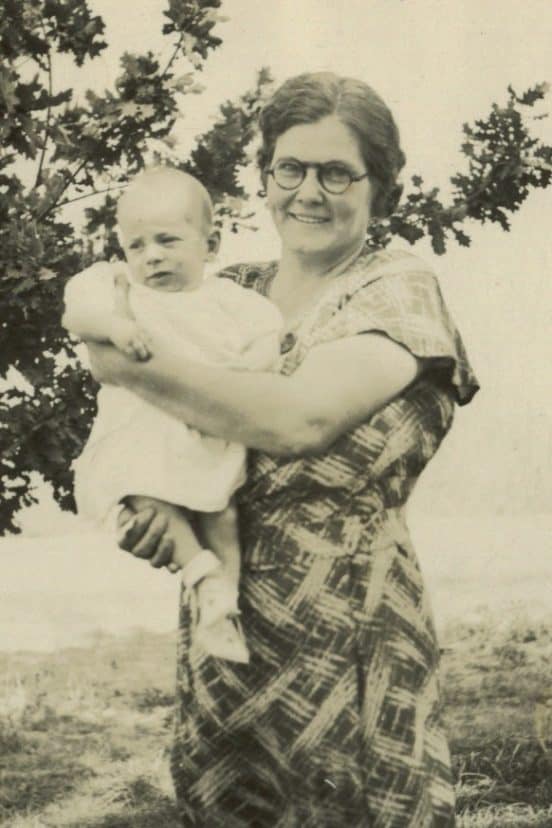
It is a fortunate thing when an ancestor leaves behind their own life history. Such is the case with my…
This family recipe has been handed down from Billee Barton Corn. Billee frequented Luby’s cafeteria often with friends and coworkers….
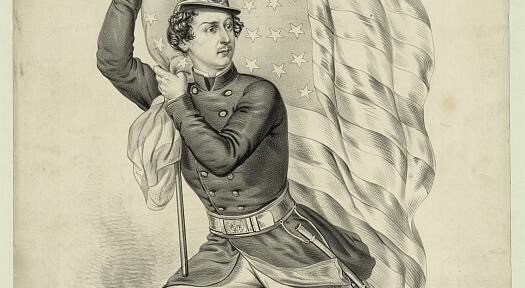
We have several accounts of Civil War soldiers in our family tree who were assigned for a time to the…
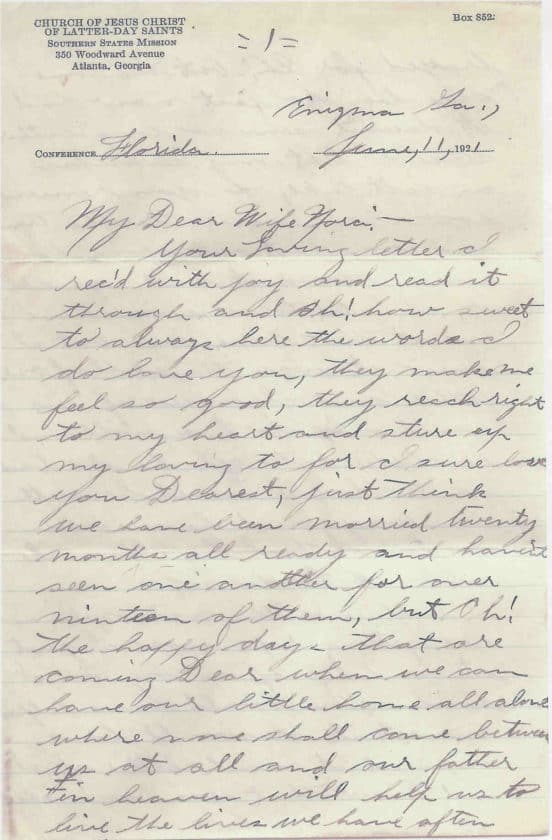
Shortly after they married, Percy and Nora Farnworth left to serve as missionaries for their church. Surprisingly they were sent…
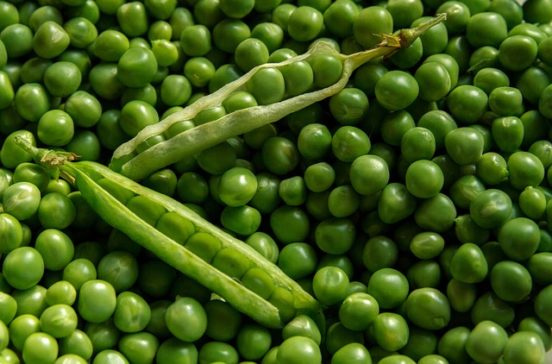
This family recipe has been handed down from Betty Johnson Farnworth. It can be used as a breakfast cereal, a…